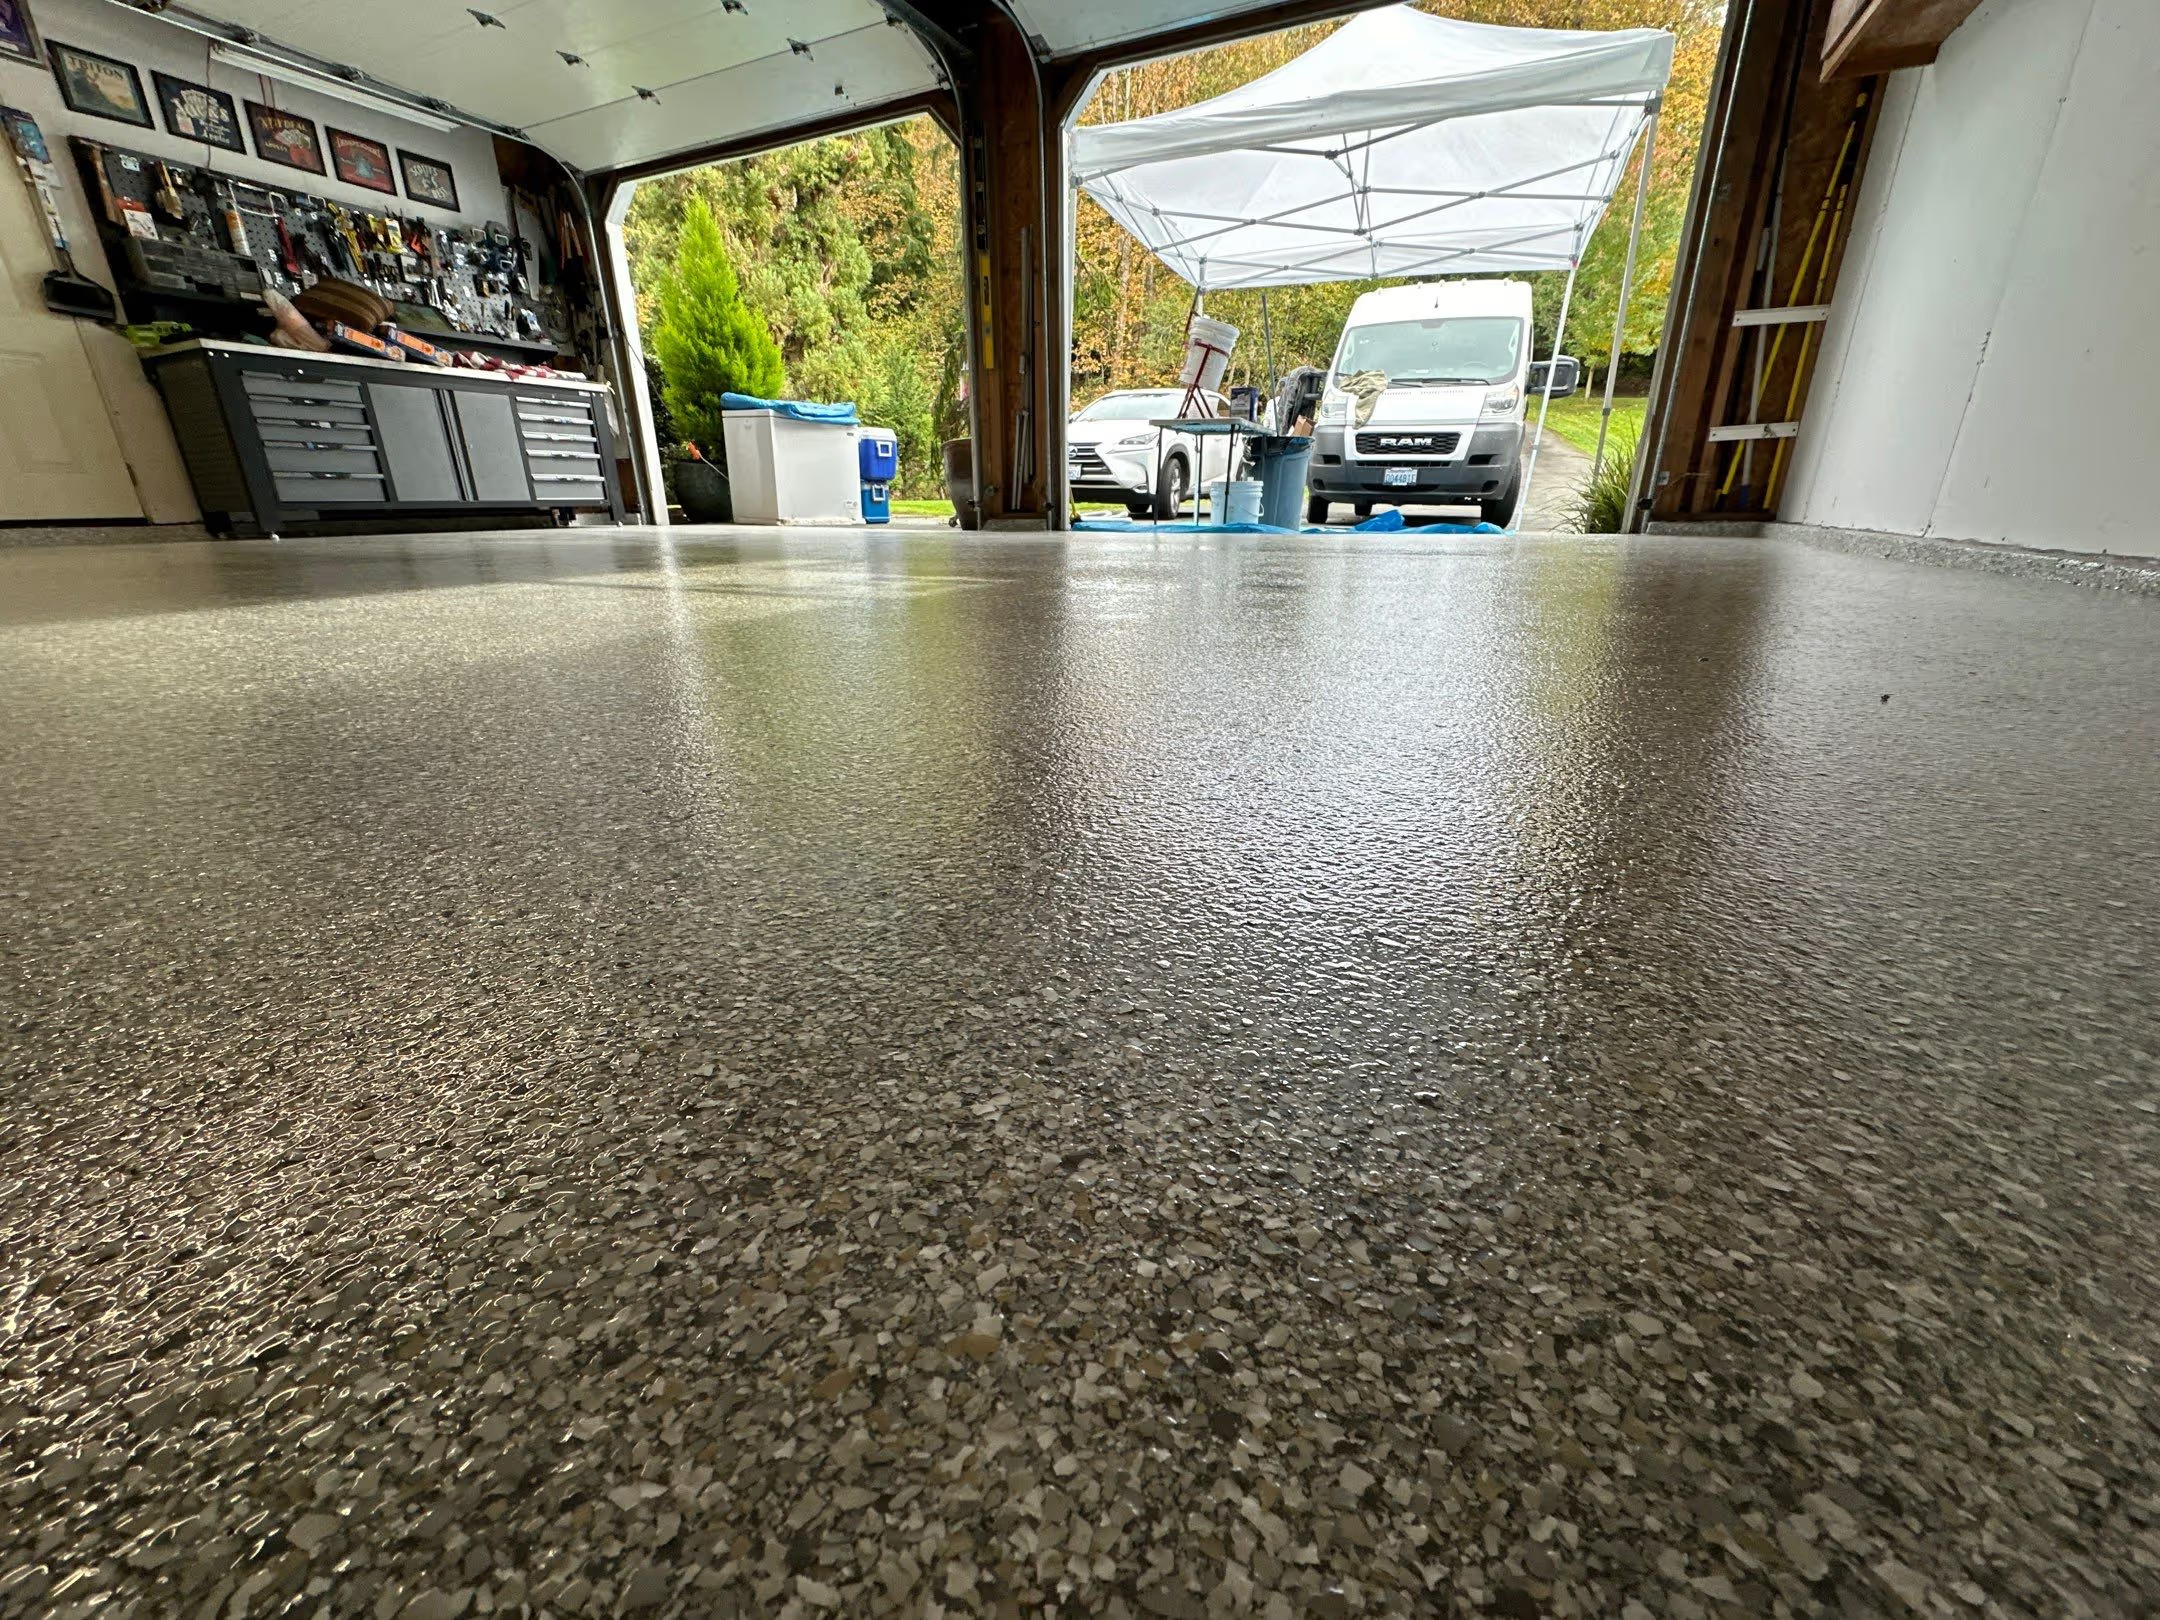
Applying an epoxy coating is one of the best ways to enhance your concrete floors' durability, appearance, and longevity. However, proper preparation is key to ensuring a flawless and long-lasting finish. At Cascade Concrete Coatings, we specialize in professional epoxy floor coatings, and we know that the success of your project starts with thorough preparation. Below, we'll walk you through the essential steps to prepare your concrete floor for an epoxy coating.
Before applying an epoxy coating, inspect your concrete floor for any damage, moisture issues, or existing coatings. Look for cracks, spalling (surface flaking), or oil stains that could interfere with adhesion. If your concrete is sealed or has an old coating, you'll need to remove it to ensure proper bonding.
A clean surface is crucial for proper epoxy adhesion. Sweep away all debris, then use a degreaser or concrete cleaner to remove oil, grease, and other contaminants. Stubborn stains may require scrubbing with a stiff-bristle brush or a pressure washer. Let the floor dry completely before moving to the next step.
Fill any cracks, holes, or damaged areas with an appropriate concrete patching compound. Once applied, allow it to cure according to the manufacturer's instructions. Sand down rough or uneven patches to create a smooth surface, allowing the epoxy to bond evenly.
Epoxy coatings do not adhere well to damp or moisture-prone concrete. To check for moisture issues, tape a plastic sheet to the floor and leave it for 24 hours. If condensation forms underneath, your concrete may need additional drying time or a moisture barrier before applying epoxy.
To promote proper adhesion, the concrete surface must be slightly porous. This can be achieved through mechanical grinding or acid etching:
Once the surface has been prepped, vacuum or sweep away all dust and debris. Any remaining particles can affect the adhesion and smoothness of the epoxy finish. Ensure the floor is completely dry before proceeding.
Some epoxy systems require a primer coat to enhance adhesion and improve durability. A primer can help seal the concrete and reduce the chance of air bubbles in the final coating. Check with your epoxy manufacturer or let a professional - like our experts at Cascade Concrete Coatings - perform the task.
With your floor properly prepared, you are ready for the epoxy coating. Hire a professional like Cascade Concrete Coatings for the best results to ensure a flawless application.
Preparing your concrete floor for an epoxy coating is a crucial step that shouldn't be overlooked. Call our professionals at Cascade Concrete Coatings to get the job done. Contact us today!